
4.5: Bag Valve Mask (BVM)
- Page ID
- 84377
\( \newcommand{\vecs}[1]{\overset { \scriptstyle \rightharpoonup} {\mathbf{#1}} } \)
\( \newcommand{\vecd}[1]{\overset{-\!-\!\rightharpoonup}{\vphantom{a}\smash {#1}}} \)
\( \newcommand{\id}{\mathrm{id}}\) \( \newcommand{\Span}{\mathrm{span}}\)
( \newcommand{\kernel}{\mathrm{null}\,}\) \( \newcommand{\range}{\mathrm{range}\,}\)
\( \newcommand{\RealPart}{\mathrm{Re}}\) \( \newcommand{\ImaginaryPart}{\mathrm{Im}}\)
\( \newcommand{\Argument}{\mathrm{Arg}}\) \( \newcommand{\norm}[1]{\| #1 \|}\)
\( \newcommand{\inner}[2]{\langle #1, #2 \rangle}\)
\( \newcommand{\Span}{\mathrm{span}}\)
\( \newcommand{\id}{\mathrm{id}}\)
\( \newcommand{\Span}{\mathrm{span}}\)
\( \newcommand{\kernel}{\mathrm{null}\,}\)
\( \newcommand{\range}{\mathrm{range}\,}\)
\( \newcommand{\RealPart}{\mathrm{Re}}\)
\( \newcommand{\ImaginaryPart}{\mathrm{Im}}\)
\( \newcommand{\Argument}{\mathrm{Arg}}\)
\( \newcommand{\norm}[1]{\| #1 \|}\)
\( \newcommand{\inner}[2]{\langle #1, #2 \rangle}\)
\( \newcommand{\Span}{\mathrm{span}}\) \( \newcommand{\AA}{\unicode[.8,0]{x212B}}\)
\( \newcommand{\vectorA}[1]{\vec{#1}} % arrow\)
\( \newcommand{\vectorAt}[1]{\vec{\text{#1}}} % arrow\)
\( \newcommand{\vectorB}[1]{\overset { \scriptstyle \rightharpoonup} {\mathbf{#1}} } \)
\( \newcommand{\vectorC}[1]{\textbf{#1}} \)
\( \newcommand{\vectorD}[1]{\overrightarrow{#1}} \)
\( \newcommand{\vectorDt}[1]{\overrightarrow{\text{#1}}} \)
\( \newcommand{\vectE}[1]{\overset{-\!-\!\rightharpoonup}{\vphantom{a}\smash{\mathbf {#1}}}} \)
\( \newcommand{\vecs}[1]{\overset { \scriptstyle \rightharpoonup} {\mathbf{#1}} } \)
\( \newcommand{\vecd}[1]{\overset{-\!-\!\rightharpoonup}{\vphantom{a}\smash {#1}}} \)
A BVM is used for patients who are in respiratory failure. The BVM is always to be used in conjunction with manual airway maneuvers such as the NPA, OPA, and/or intermediate/advanced airways. Every time you use this device, think “I need an adjunct and/or intermediate airway & I need ALS.” Despite proper technique and tools this will cause gastric distention and eventually vomiting. Be prepared to suction!
Side note on manikins – The manikins you use in class were designed to be breathed for; humans, not so much. Follow these steps carefully as breathing for humans is MUCH harder than it is on a manikin.
- Recognize the need for assisted ventilations (low respiratory rate, respiratory effort, or tidal volume).
- Select the appropriate size mask & bag for the patient.
- Connect BVM to oxygen at a flow rate of 15 lpm.
- If available, attach HEPPA filter to exhaust port to reduce the spread of COVID and other airborne infectious diseases.
- Place patient supine on a firm surface.
- Position yourself at the head, your shoulders should be squared with the patient.
- Place the mask in your non-dominant hand.
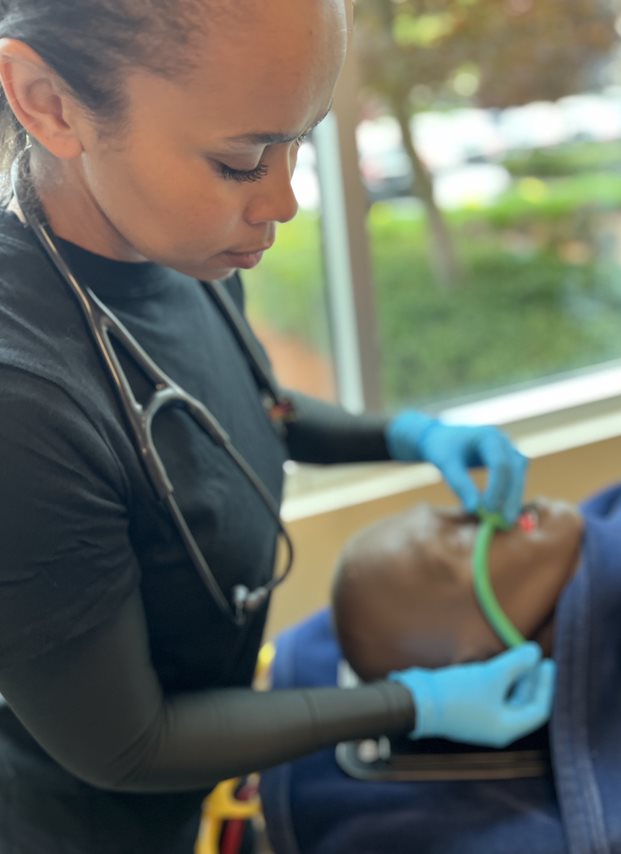
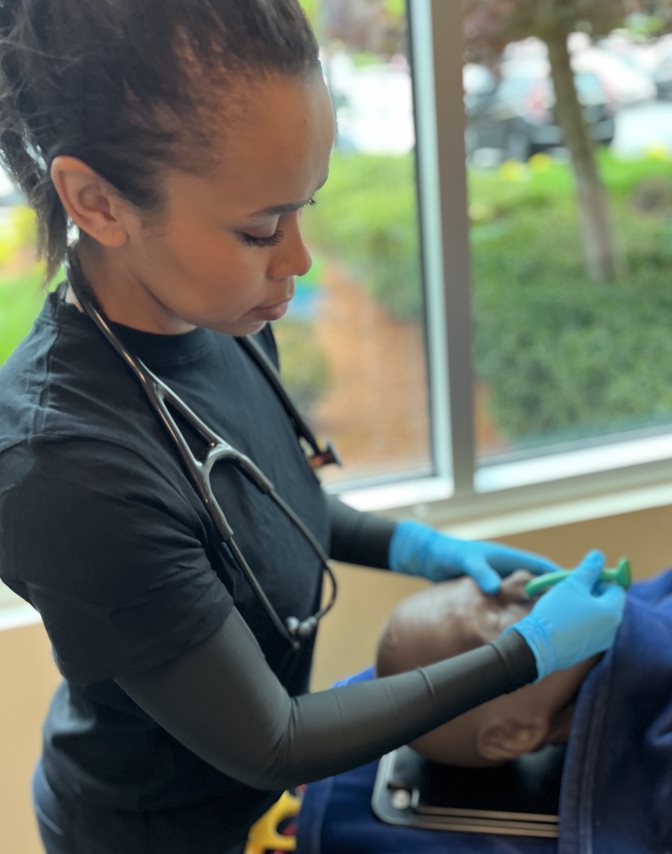
- Use your thumb and index finger in “C” technique as shown below – be sure to keep fingers on hard plastic to create a good face seal.
- Place the nose of the mask on the bridge of the patient’s nose.
- Lower the mask over the patient’s mouth.
- Using the middle, ring, and pinky finger in the “E” technique along the bottom of the jawbone.
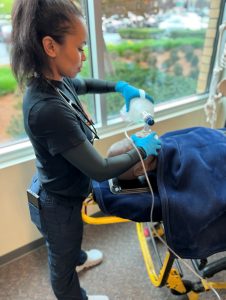
- Lock your elbow and lean back, bringing the patient’s face “up” into the mask this is called the “sniffing position”.
- In your dominant hand, hold the oxygen bag out to the side of the patient.
- With the head remaining tilted into the sniffing position gently squeeze the bag until you see chest rise.
- The goal is to deliver each breath over 1 second to minimize gastric distention or lung trauma.
- Deliver breaths for an adult once every 5-6 seconds or children every 2-3 seconds.
- Include adjunct airways as indicated as soon as possible.
- If resources exist, use two-person BVM technique
- One rescuer holds the mask with both hands in the “E / C” technique or thumb down technique.
- The other rescuer squeezes the bag at above mentioned rates, just enough to see the chest rise.


|
BVM 1-person |
1 |
2 |
3 |
4 |
5 |
6 |
7 |
8 |
9 |
10 (instructor) |
|
Adjunct/airway used |
|
|
|
|
|
|
|
|
|
|
|
Initials |
|
|
|
|
|
|
|
|
|
|
|
BVM 2-person |
1 |
2 |
3 |
4 |
5 |
6 |
7 |
8 |
9 |
10 (instructor) |
|
Adjunct/airway used |
|
|
|
|
|
|
|
|
|
|
|
Initials |
|
|
|
|
|
|
|
|
|
|
The original copy of this book resides at openoregon.pressbooks.pub/emslabmanual. If you are reading this work at an alternate web address, it may contain content that has not been vetted by the original authors and physician reviewers.