
4.8: King Airway Insertion
- Page ID
- 84380
\( \newcommand{\vecs}[1]{\overset { \scriptstyle \rightharpoonup} {\mathbf{#1}} } \)
\( \newcommand{\vecd}[1]{\overset{-\!-\!\rightharpoonup}{\vphantom{a}\smash {#1}}} \)
\( \newcommand{\id}{\mathrm{id}}\) \( \newcommand{\Span}{\mathrm{span}}\)
( \newcommand{\kernel}{\mathrm{null}\,}\) \( \newcommand{\range}{\mathrm{range}\,}\)
\( \newcommand{\RealPart}{\mathrm{Re}}\) \( \newcommand{\ImaginaryPart}{\mathrm{Im}}\)
\( \newcommand{\Argument}{\mathrm{Arg}}\) \( \newcommand{\norm}[1]{\| #1 \|}\)
\( \newcommand{\inner}[2]{\langle #1, #2 \rangle}\)
\( \newcommand{\Span}{\mathrm{span}}\)
\( \newcommand{\id}{\mathrm{id}}\)
\( \newcommand{\Span}{\mathrm{span}}\)
\( \newcommand{\kernel}{\mathrm{null}\,}\)
\( \newcommand{\range}{\mathrm{range}\,}\)
\( \newcommand{\RealPart}{\mathrm{Re}}\)
\( \newcommand{\ImaginaryPart}{\mathrm{Im}}\)
\( \newcommand{\Argument}{\mathrm{Arg}}\)
\( \newcommand{\norm}[1]{\| #1 \|}\)
\( \newcommand{\inner}[2]{\langle #1, #2 \rangle}\)
\( \newcommand{\Span}{\mathrm{span}}\) \( \newcommand{\AA}{\unicode[.8,0]{x212B}}\)
\( \newcommand{\vectorA}[1]{\vec{#1}} % arrow\)
\( \newcommand{\vectorAt}[1]{\vec{\text{#1}}} % arrow\)
\( \newcommand{\vectorB}[1]{\overset { \scriptstyle \rightharpoonup} {\mathbf{#1}} } \)
\( \newcommand{\vectorC}[1]{\textbf{#1}} \)
\( \newcommand{\vectorD}[1]{\overrightarrow{#1}} \)
\( \newcommand{\vectorDt}[1]{\overrightarrow{\text{#1}}} \)
\( \newcommand{\vectE}[1]{\overset{-\!-\!\rightharpoonup}{\vphantom{a}\smash{\mathbf {#1}}}} \)
\( \newcommand{\vecs}[1]{\overset { \scriptstyle \rightharpoonup} {\mathbf{#1}} } \)
\( \newcommand{\vecd}[1]{\overset{-\!-\!\rightharpoonup}{\vphantom{a}\smash {#1}}} \)
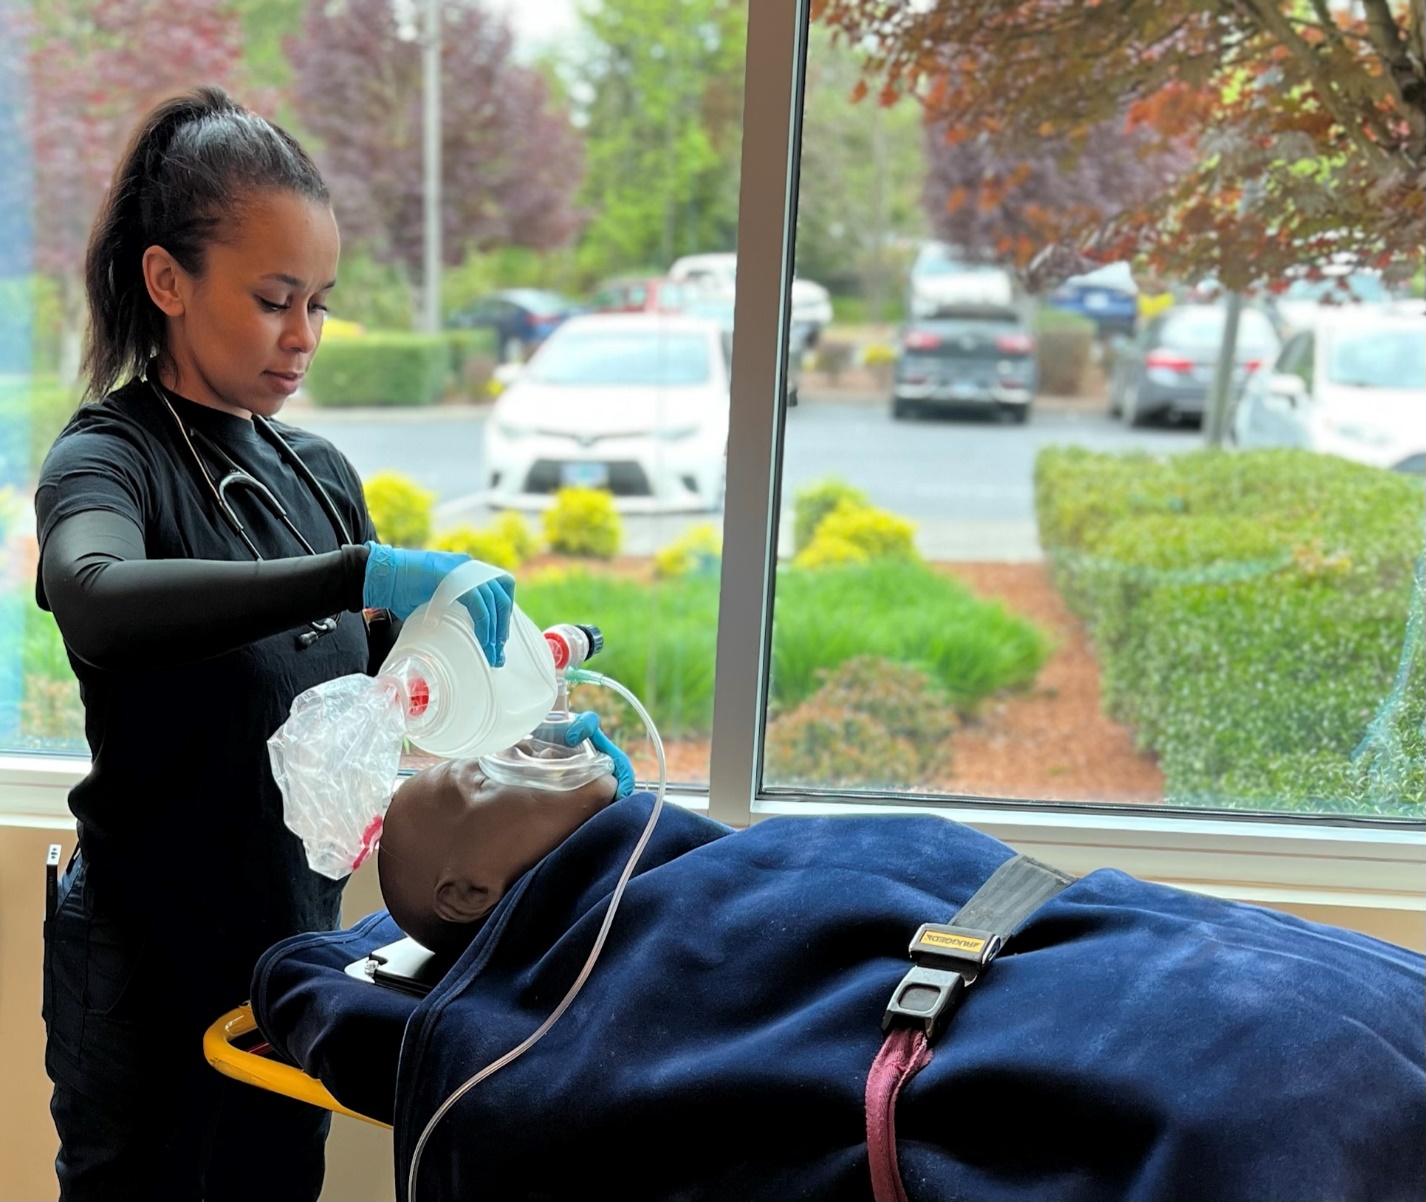
For use in respiratory failure without the presence of a gag reflex. Always used in conjunction with a BVM.
- Confirm lack of gag reflex with OPA insertion.
- Pre-oxygenate using BVM and adjuncts while the device is being prepared.
- Select proper size based on manufacturer recommendation.
- Remove from packaging.
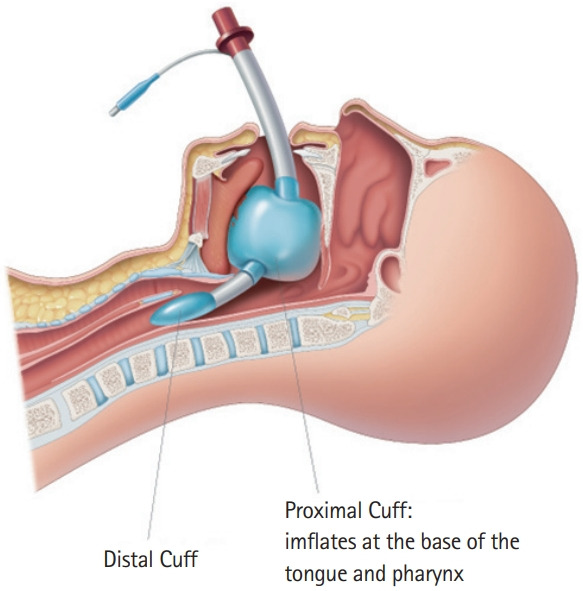
- Inflate distal cuffs to ensure there are no leaks – deflate both cuffs before inserting.
- Lubricate distal tip with water-based lubricant.
- Remove the OPA if present.
- Grasp the patient’s tongue and lower jaw and pull forward to open the mouth.
- Insert King Airway up to the colored connection.
- Inflate distal cuffs to manufacturer recommendation & remove syringe.
- Failure to remove the syringe will result in the cuffs deflating and ineffective seal.
- Attach BVM and deliver small “puffs” via BVM while retracting King Airway from the patient.
- Stop retracting when you see chest rise and resistance on the bag is decreased.
- Note – you may see the balloon in the back of the mouth, this is normal.
- Confirm placement using stethoscope and auscultating lung sounds and the absence of epigastric sounds.
- Additional confirmation needed – increase in SpO2, improvement in skin color, presence of good chest rise.
- Ongoing confirmation needed with every ventilation. Whichever team member is assigned to the BVM needs to continually assess for effectiveness of ventilations.
- If gag reflex returns and/or vomiting begins, immediately turn the patient onto their side, remove the device and suction as needed.
- Return to BVM with a mask when airway is clear.

|
King Airway |
1 |
2 |
3 |
4 |
5 (instructor) |
|
Initials |
|
|
|
|
|
The original copy of this book resides at openoregon.pressbooks.pub/emslabmanual. If you are reading this work at an alternate web address, it may contain content that has not been vetted by the original authors and physician reviewers.